

Monday, April 6, 2015
A Very Merry Un-birthday to You!
Have as much fun with your birthday hat as you like! Mine is super simple - cut from the Artiste cartridge, with some glitter paper behind the stars and some old ribbons from the top! Show me yours on Saturday! In this contest - everyone sporting their hat wins!
Around the bottom I wrote "A very merry unbirthday to you!"
Saturday, April 4, 2015
April Crop
The April Crop is on the 11th, from 9am until 9pm. The featured paper pack is Confetti, and the theme is Happy Birthday!
Capturing an idea from a fellow scrapper (click to see her blog and samples), I'm offering a free goodie to any attending that creates and wears their own party hat!
Come join the fun!

Capturing an idea from a fellow scrapper (click to see her blog and samples), I'm offering a free goodie to any attending that creates and wears their own party hat!
Come join the fun!
Sunday, March 1, 2015
Steampunk background
Stamping your own back ground is nothing new, but here's a steam punk version I love. It's the stamps from the hostess stamp set A thing well done, in desert sand on kraft paper.


I used a strip on this journal.
Wednesday, February 18, 2015
March's card class
At the card class on March 26, I'll be doing a tutorial on how to make a pop up card like the one below. Because what I'm showcasing is more a technique and not a particular product, each card will be different, and from retired stock.


The card folds flat to fit in a standard card envelope.
Sunday, February 15, 2015
Make it match Ribbon
Quick tip - I wanted to use a little Slate Diagonal Striped ribbon on my project, but the white was too pronounced. So I drug the ribbon across my Glacier ink pad, pressing down with a sponge dauber, pulling it quickly. It toned down the white and matched my paper.


My finished project is a match box holding 16 change of address cards.
Items used:
Artiste cartridge
Seaside paper pack
White cardstock (inside box)
Treasured Friendship
Slate Diagonal Striped Ribbon
Seaside PML card
Journey Base & Bling charm
Blending Pen (pink inside the conch shell)
Retired slate washi tape
Retired Glitz
Thursday, February 12, 2015
Brushed Butterflies
The featured kit for the March Crop is Brushed. These colors are bright and beautiful. This uses the Brushed paper pack, the stamp set Your Own Kind of Wonderful, Card Chatter-Birthday (retired) and most of the colors in the Brushed palette.

Monday, February 2, 2015
Embossing Gold
If you ordered the Year>>>Noted special in January, you received a sheet of gold foil stickers. Flat gold foil stickers.

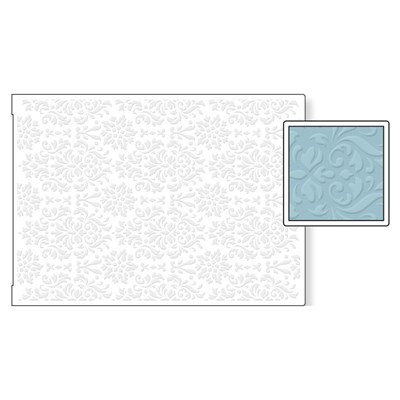


With the help of an embossing folder
You can add some texture to the flat gold foil!
In this sample I used the gold foil, paper from the Year>>>Noted pack and the February Stamp of the Month. I love the wispy look of the branches, done here in juniper, both first and second generations.
I'm a little late with the embossed foil idea for anyone who didn't order the special in January. I did end up with an extra in my inventory if you are interested. However, the February stamp of the month is right on time, available all of February, just $5 with a $50 order!
Saturday, January 31, 2015
February's Sweet Album Special
During the month of February, if you order a Close To My Heart new canvas album, you can get a second one at half price - a $17 savings! I have several reasons to think this is a great deal!
First they have two great new colors, plus black.
 2. - They come in D Ring binder style or Post bound.
3. - The post bound albums are the easiest to assemble that I've ever tried.
When ordering a post bound album, I recommend also getting 2 packages of Z1984 - 25 Top Load Value Pack and 1 set of Spine Expanders for a 50 page/100 layout album. It will take one time to assemble your book and be done in a snap. I'll even do the assembly for you, if you order the set through me.
The books we buy from Michaels and Hobby Lobby have little posts, that like to spin when you try to take them apart. You need to purchase more post connections and more pages, to make your book the right size and you have to pay close attention to make sure you pick up the additions that will match your book. Check out this post system Close to My Heart has to offer....


 Don't let this sweet February special pass you by!
First they have two great new colors, plus black.
3. - The post bound albums are the easiest to assemble that I've ever tried.
When ordering a post bound album, I recommend also getting 2 packages of Z1984 - 25 Top Load Value Pack and 1 set of Spine Expanders for a 50 page/100 layout album. It will take one time to assemble your book and be done in a snap. I'll even do the assembly for you, if you order the set through me.
The books we buy from Michaels and Hobby Lobby have little posts, that like to spin when you try to take them apart. You need to purchase more post connections and more pages, to make your book the right size and you have to pay close attention to make sure you pick up the additions that will match your book. Check out this post system Close to My Heart has to offer....
It's a single one and a half inch post!
With a handle for better torque when putting it together!
With the spine expanders, it helps keep your books from looking like this:
So even if you still use another brand of album, the spine expanders - at $2.95 - are a great bargain. They are heavy duty plastic - not just cardboard pieces.
My new Ruby album looks like this:
as it waits on completed layouts. Also, Close To My Heart page protectors are a heavier quality than you find in most albums.
I'm working on my Vegas Album and even with most of the pages in the book, I still have growing room without it looking like an alligator.
And another super cool feature... Personalization! You will have to do the personalization yourself or find someone who does vinyl. For those of you who are local, Amy Sharpe did this for me for $15. Simple wording is only $5.
How would your albums look with the year or a name on the front? Amy and I did find the vinyl would not adhere to the spine, only the padded front cover.
Monday, January 26, 2015
Web Master
Putting out the decorations got the better of Hurricane this past Halloween.
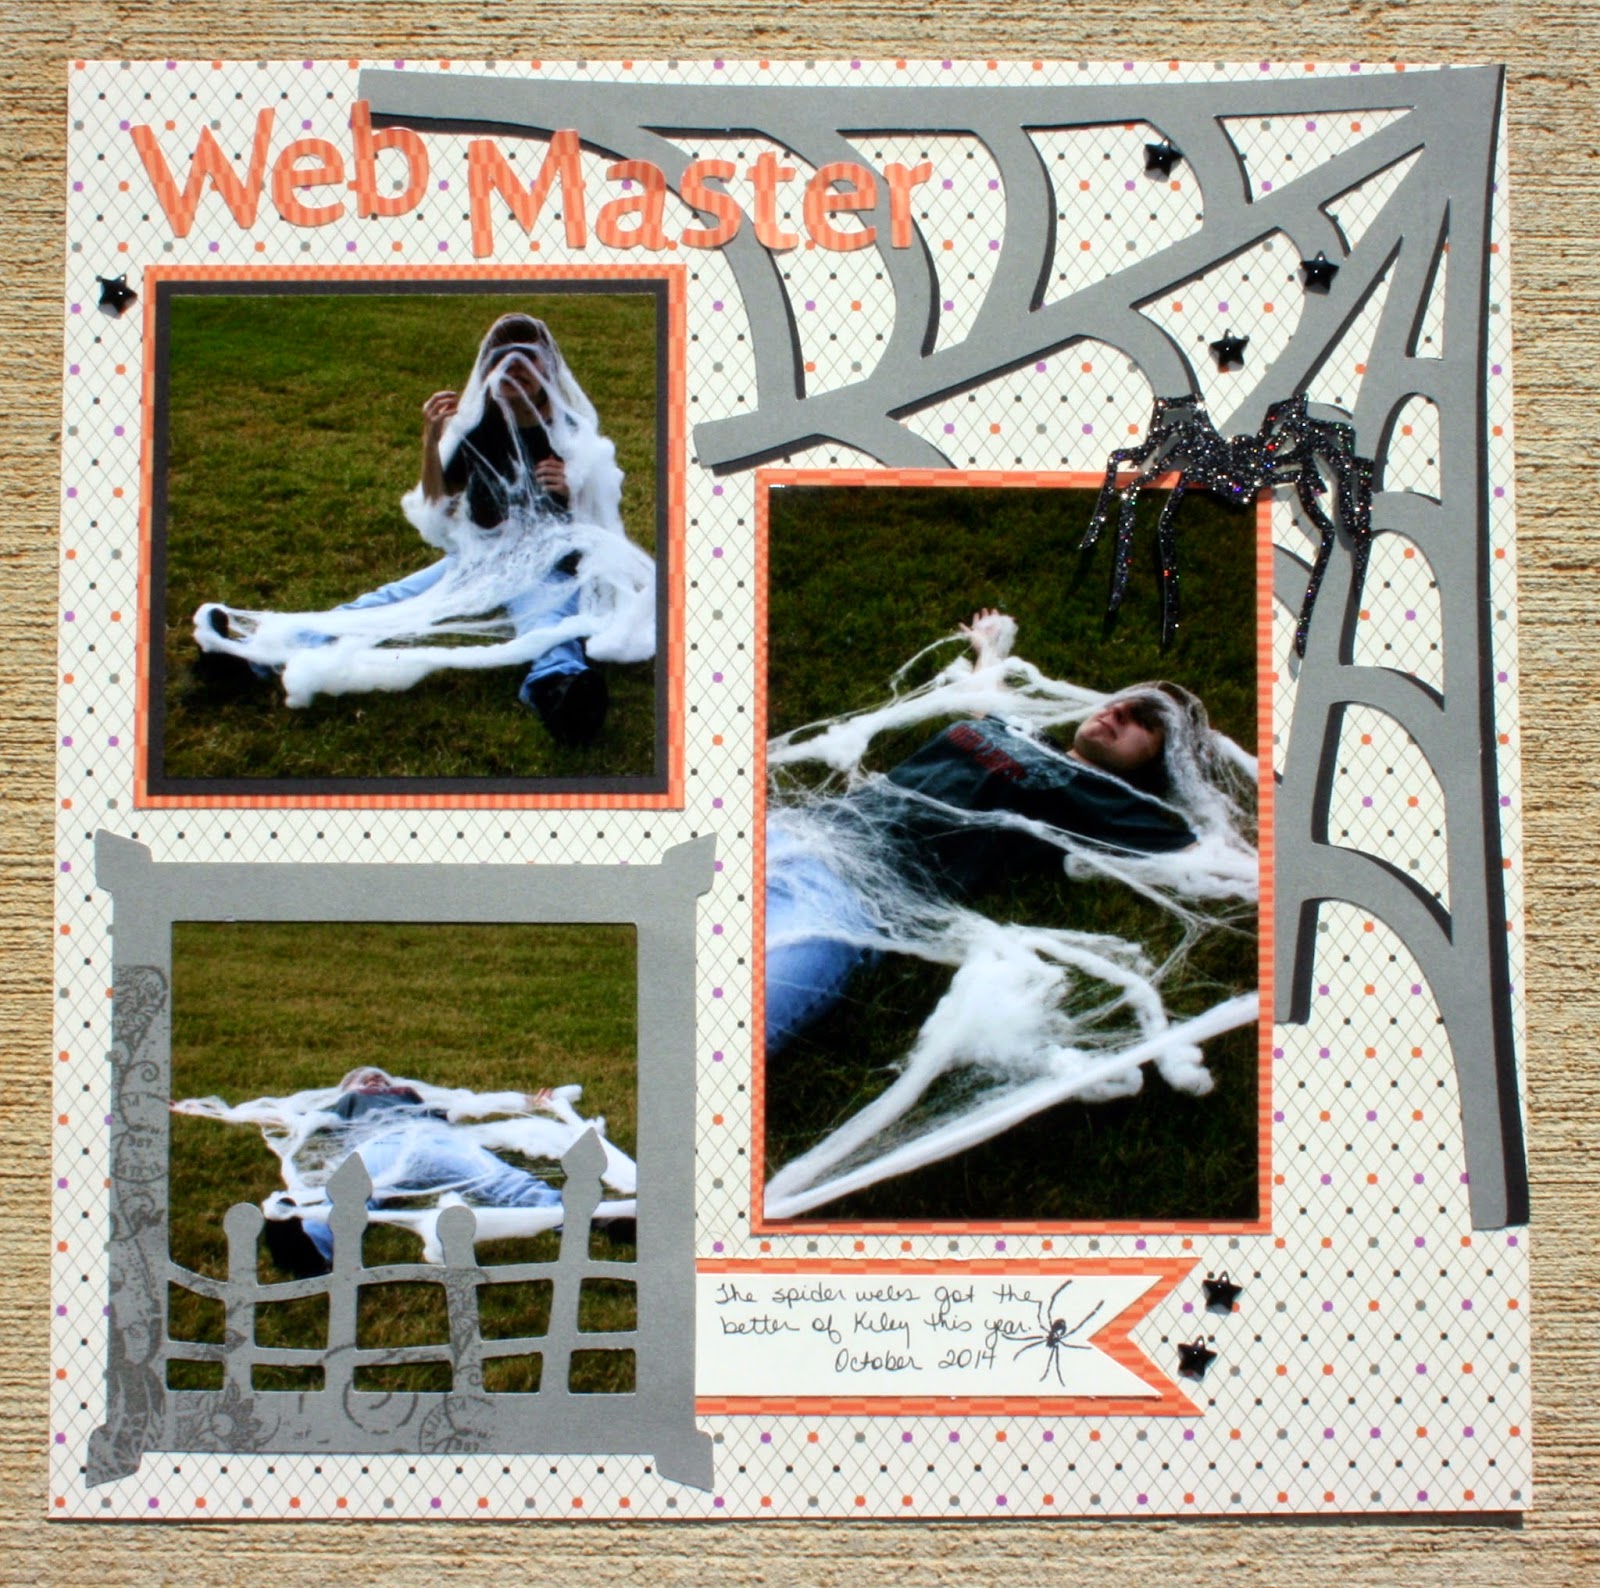
Spider web in Slate and Black, just slightly offset - Artbooking, 12", Overlay, Shift <C>.
Fence 4x4 mat - Artbooking, 11", Photo Mat 2, Shift <C>.
Spider - Artbooking, RDS, 2", Border, Shift <C>.
Web Master - Artiste, 1".
Stamps - All Hallow's Eve, for the spider on the journaling
Backdrops - Charmed for the details on the fence mat.
Scaredy Cat papers, with Colonial white, Slate and Black cardstock. Black glitter paper for the spider, popped up with foam tape.
Spider web in Slate and Black, just slightly offset - Artbooking, 12", Overlay, Shift <C>.
Fence 4x4 mat - Artbooking, 11", Photo Mat 2, Shift <C>.
Spider - Artbooking, RDS, 2", Border, Shift <C>.
Web Master - Artiste, 1".
Stamps - All Hallow's Eve, for the spider on the journaling
Backdrops - Charmed for the details on the fence mat.
Scaredy Cat papers, with Colonial white, Slate and Black cardstock. Black glitter paper for the spider, popped up with foam tape.
Saturday, January 24, 2015
Tearing Cardstock
Close to My Heart cardstock has a white interior, which gives it a nice border when you tear it. When you tear, you pull one side toward you and one side away. The white border will appear on the side you are pulling away from you.

Sunday, January 18, 2015
Snow Much Fun!
We had a few snow flurries the other day, but not enough to make it picture worthy. I do have a couple pages prepared for when it does. These are a variety of snowflakes cut from different CTMH Cricut cartridges, then run through a Cuttlebug with the Damask embossing folder to give them additional dimension. The white snow pictures will pop on these dark papers.

 Tips on the glitter paper:
Use an older Cricut mat; if the mat is too sticky, the white backing of the glitter paper tends to separate from the top layer of glitter.
Slate & Daisy White cardstock
Black & Grey Glitter paper
Black & Grey Sparkles
Bitty Sparkles
Slate Diagonal Striped Ribbon
Snowhaven paper pack
Turquoise Blue Shin-han marker
Damask embossing folder
Stamp set is C1506 - Flakey Friends
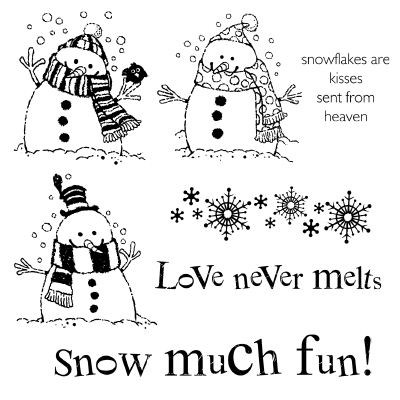
If something happens to one of your embellishments, just tuck the not so perfect side under a photo mat!

Use an older Cricut mat; if the mat is too sticky, the white backing of the glitter paper tends to separate from the top layer of glitter.
Slate & Daisy White cardstock
Black & Grey Glitter paper
Black & Grey Sparkles
Bitty Sparkles
Slate Diagonal Striped Ribbon
Snowhaven paper pack
Turquoise Blue Shin-han marker
Damask embossing folder
Stamp set is C1506 - Flakey Friends
If something happens to one of your embellishments, just tuck the not so perfect side under a photo mat!
Thursday, January 15, 2015
Purse Gift Bag
Thanks to all the great ladies who came out to Sunny's mini-workshop on Wednesday! If you liked the little purse gift bag, click here to go to my original post. It has an additional link to get to the directions!
Friday, January 9, 2015
Retiring Stamps
The following stamp sets are retiring, meaing they are available until the stock is gone. They are from the Spring/Summer 2014 Idea book. All stamps in your current book are available.
A1124 A Tree
A1139 Congrats Graduate
A1141 Be Still
A1154 Friendly Thoughts
A1156 Flower Confetti
B1418 Love Doily
B1423 Hoppy Easter
B1439 Dreamer
B1440 Fancy Fair
B1441 Buggy Love
B1444 Greatest Love
B1445 Happy Hive
B1450 Owls
C1571 You're the Best
C1573 Do Your Best
C1574 Believe in Yourself
C1577 Mother's Day
C1579 Coming Up Roses
C1583 Robot Family
D1547 Paper Doll
D1579 Windy Day
M1035 Newlyweds
M1036 Perfect Polka-Dot Day
M1037 Balloons
M1038 Shooting Star
M1039 Good Job Stencil
M1040 Parasol
M1041 Hi
M1042 Colored Egg
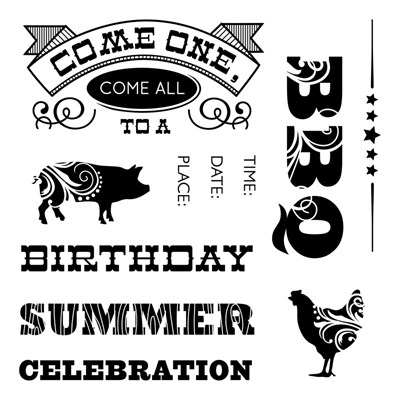 B1440, Fancy Flair
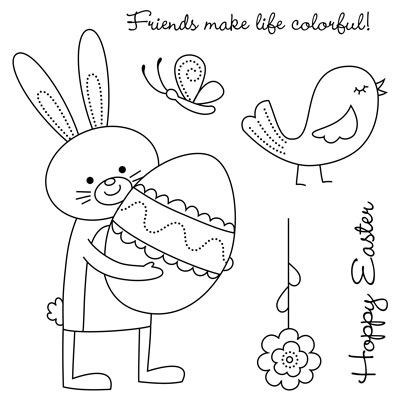 B1423, Hoppy Easter
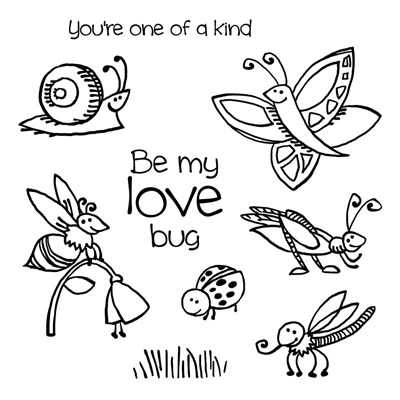 B1441, Buggy Love
 C1583, Robot Family
A1124 A Tree
A1139 Congrats Graduate
A1141 Be Still
A1154 Friendly Thoughts
A1156 Flower Confetti
B1418 Love Doily
B1423 Hoppy Easter
B1439 Dreamer
B1440 Fancy Fair
B1441 Buggy Love
B1444 Greatest Love
B1445 Happy Hive
B1450 Owls
C1571 You're the Best
C1573 Do Your Best
C1574 Believe in Yourself
C1577 Mother's Day
C1579 Coming Up Roses
C1583 Robot Family
D1547 Paper Doll
D1579 Windy Day
M1035 Newlyweds
M1036 Perfect Polka-Dot Day
M1037 Balloons
M1038 Shooting Star
M1039 Good Job Stencil
M1040 Parasol
M1041 Hi
M1042 Colored Egg
B1440, Fancy FlairB1423, Hoppy EasterB1441, Buggy LoveC1583, Robot Family
Thursday, January 8, 2015
February Card Class
Ever need a lot of thank you notes? Try this quick card we'll make in the February card class. For $5, you will make 4 of these. The cool thing about these quick cards, is with a little help from some washi tape, you only stamp 3 times to make 4 cards AND 4 envelopes! Come join us to see how.

Friday, December 26, 2014
New Year New Faces
I hope your Christmas holiday was wonderful! Mine was a whirlwind of activity and I'm keeping up the excitment by scrapping my Christmas photos and getting ready for the new year. Are you making any resolutions?
With this new year I would like to entice you to bring a new face with you to the first crop of the year, on January 17th. If you bring a friend to the crop, I will add a stamp set OR two ink pads to your next $35 (or more) order! If you friend orders at the crop, I will do the same for her!

With this new year I would like to entice you to bring a new face with you to the first crop of the year, on January 17th. If you bring a friend to the crop, I will add a stamp set OR two ink pads to your next $35 (or more) order! If you friend orders at the crop, I will do the same for her!
Well, my picture really has nothing to do with my blog, but it's pretty! It's a water lily at the Huntsville Botanical Gardens.
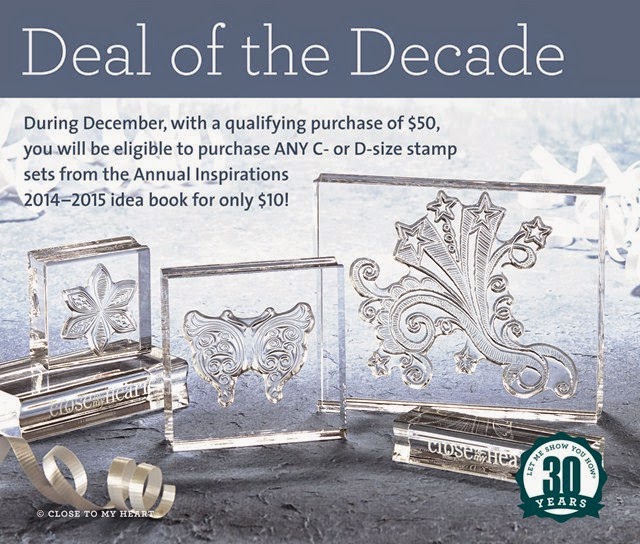
There is still time this year to take advantage of the Deal of the Decade.
With a qualifying purchase of $50 during the month of December, you will be eligible to purchase ANY C- or D-size stamps from the Annual Inspirations 2014–2015 idea book for only $10. That’s up to $7.95 of savings on a single stamp set! Plus, once you achieve the qualifying order total, there is no limit to the number of eligible stamp sets you can purchase at this discounted price. Remember, a purchase of $50 will also qualify you to receive the December Stamp of the Month for only $5, so if you purchase both the discounted Stamp of the Month and additional stamps at this special campaign pricing your savings will compound! It is truly the deal of the decade.
Sunday, December 21, 2014
Holly Jolly Christmas Day 12
Last day to take advantage of my 12 Days of Christmas special and get the A Holiday stamp set for free. Here's the final sample-
 While it wasn't intentional, I have a sense of the Alabama state flag on this one!
Saturday, December 20, 2014
Holly Jolly Christmas Day 11
Made with the A Holiday Stamp set

Friday, December 19, 2014
Holly Jolly Christmas Day 10
Made with the A Holiday stamp set and a little Gold Polka Dot Washi tape. This picture really picked up the shine!

Thursday, December 18, 2014
Holly Jolly Christmas Day 9
Mad with the A Holiday stamp set.

Here's another one, with a little different twist on the same theme.

Wednesday, December 17, 2014
Holly Jolly Christmas Day 8
Made with the A Holiday Stamp set.

Tuesday, December 16, 2014
Holly Jolly Christmas Day 7
Made with the A Holiday stamp set.

Monday, December 15, 2014
Holly Jolly Christmas Day 6
With the A Holiday stamp set

Also used:
Olive cardstock
Merriest Christmas B1468
Sunday, December 14, 2014
Holly Jolly Christmas Day 5
Made with the A Holidy stamp set

For the designed background, I swiped Cranberry ink over the top of the Damask embossing folder, then ran the Daisy cardstock through. I also used the stamp sets included in the Artfully Sent cricut cartridge - D1631 Curlicue frames and D1629 Just to Say...
Saturday, December 13, 2014
Holly Jolly Christmas Day 4
Using the A Holiday stamp set.

Friday, December 12, 2014
Holly Jolly Christmas Day 3
Using the A Holiday Stamp set.
 Materials used:
Olive cardstock
New England Ivy ink
Cranberry ink
Merriest Christmas B1468
Gold Sequins
Olive cardstock
New England Ivy ink
Cranberry ink
Merriest Christmas B1468
Gold Sequins
Subscribe to:
Posts (Atom)