

Title from the ArtBooking Cartridge, RDS 3.75", page 78.

Haven't decided on the right pictures for this side. They layouts are the extra suggested layout in your kit instructions.
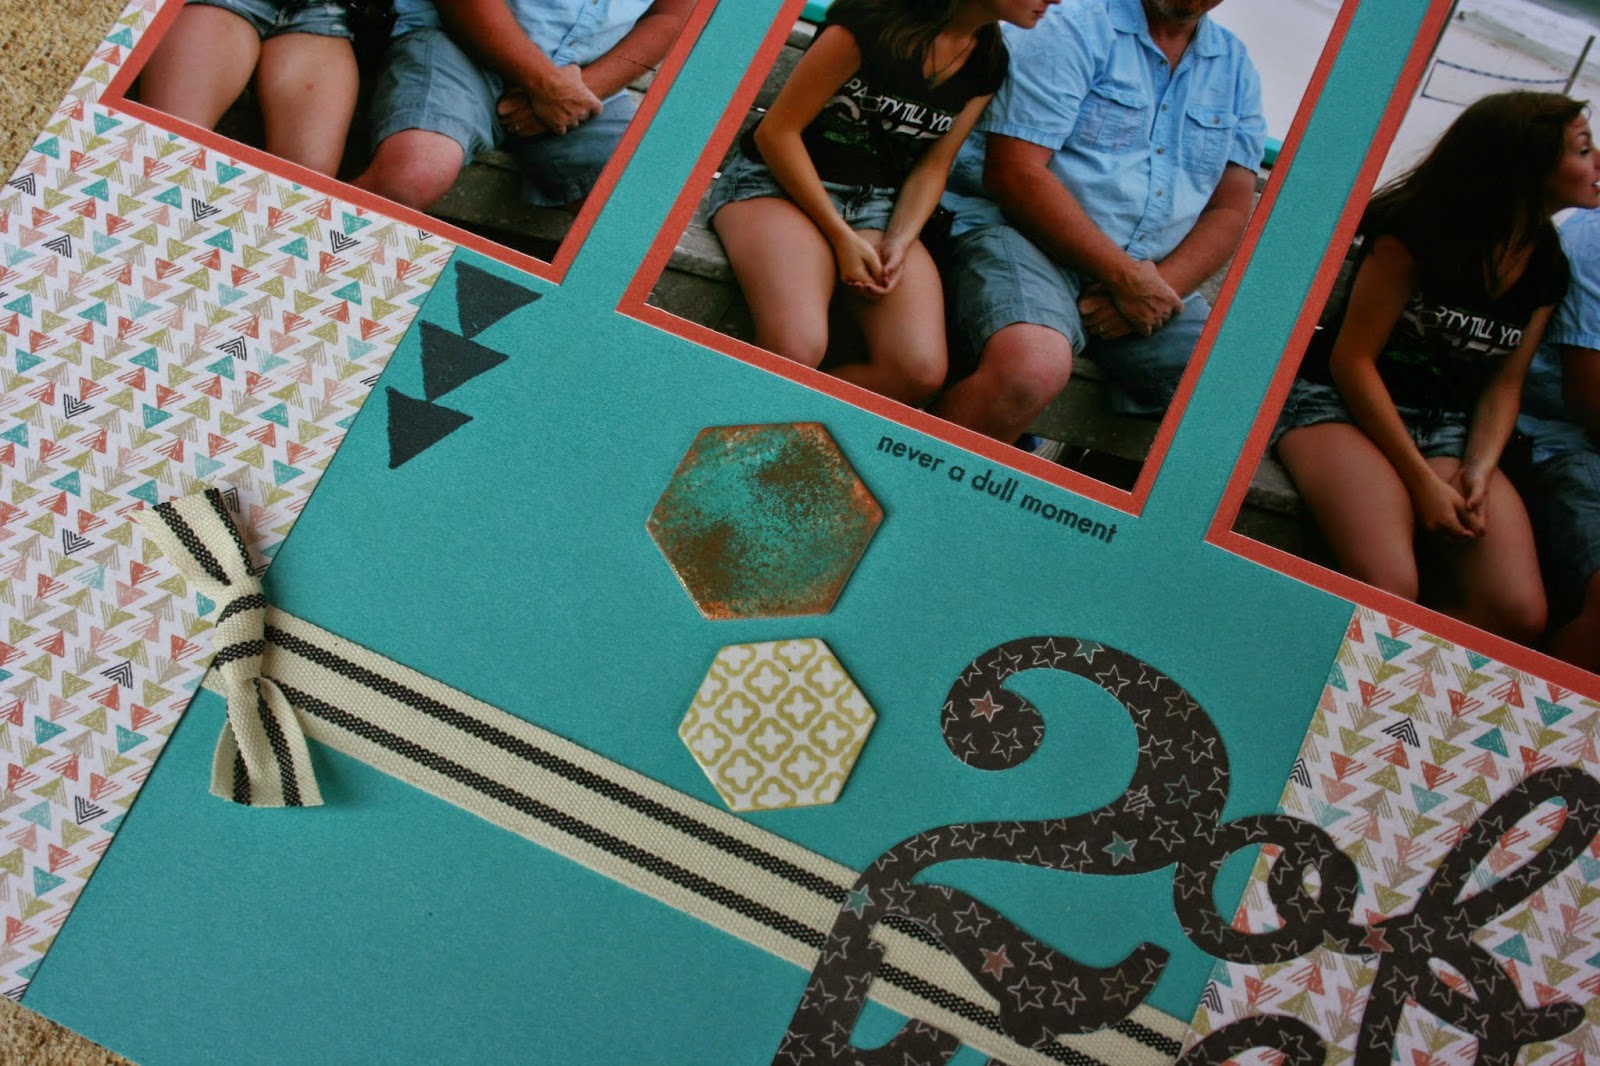
And while the Chalk it up paper is great - that's not what I'm so excited about on these pages. See the hexagon embellishments? I did that! And so can you. I covered one with Lagoon Heart washi tape. The small ones are retired resist chipboard that you just sponge regular ink on, then wipe with a paper towel.
But that plain white chipboard you have stashed away can be turned into a great embellishment with the pigment inks and even greater now that the gold embossing powder is back. Just a few simple steps and you can color co-ordinate your chipboard to match whatever paper you are using!

First select your chipboard, your colored pigment ink, along with gold (or silver) and clear embossing powder. I stamped the little heart with black ink.


I just took the little pigment squares and dabbed them on the chipboard until I got the coverage I wanted.


Such an easy way to add a lot of color and shine to a plain little piece of chipboard. Give it a try!
Oh yes...I am so trying it...ASAP! Thanks for all the details and pictures. LOVE IT!
ReplyDeletethose two are silly :) hehe
ReplyDeleteI really like that layout! SCRAPLIFTING!
ReplyDeleteI love your layout and those hexagons are fantabulous! Thank you for sharing how you did them. I am definitely going to try your technique. This layout is a perfect example of how to use paper for a totally different theme.
ReplyDelete