Friday, December 26, 2014

New Year New Faces

I hope your Christmas holiday was wonderful! Mine was a whirlwind of activity and I'm keeping up the excitment by scrapping my Christmas photos and getting ready for the new year.  Are you making any resolutions? 

With this new year I would like to entice you to bring a new face with you to the first crop of the year, on January 17th.  If you bring a friend to the crop, I will add a stamp set OR two ink pads to your next $35 (or more) order!  If you friend orders at the crop, I will do the same for her!


Well, my picture really has nothing to do with my blog, but it's pretty!  It's a water lily at the Huntsville Botanical Gardens.
 
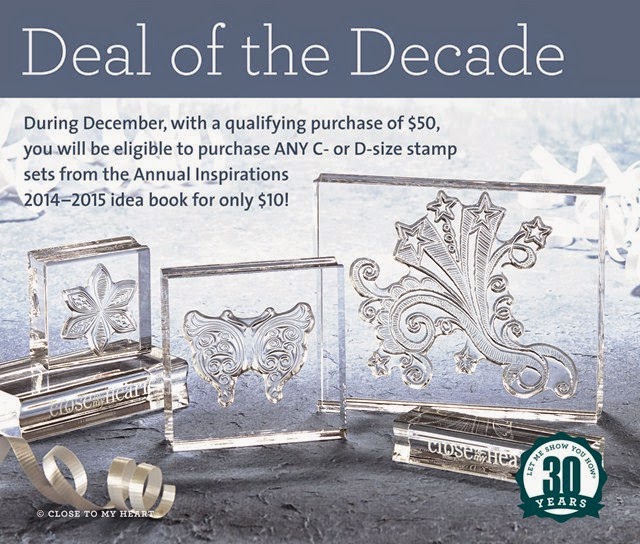
There is still time this year to take advantage of the Deal of the Decade. 


With a qualifying purchase of $50 during the month of December, you will be eligible to purchase ANY C- or D-size stamps from the Annual Inspirations 2014–2015 idea book for only $10. That’s up to $7.95 of savings on a single stamp set! Plus, once you achieve the qualifying order total, there is no limit to the number of eligible stamp sets you can purchase at this discounted price. Remember, a purchase of $50 will also qualify you to receive the December Stamp of the Month for only $5, so if you purchase both the discounted Stamp of the Month and additional stamps at this special campaign pricing your savings will compound! It is truly the deal of the decade.


Sunday, December 21, 2014

Holly Jolly Christmas Day 12

Last day to take advantage of my 12 Days of Christmas special and get the A Holiday stamp set for free.  Here's the final sample-
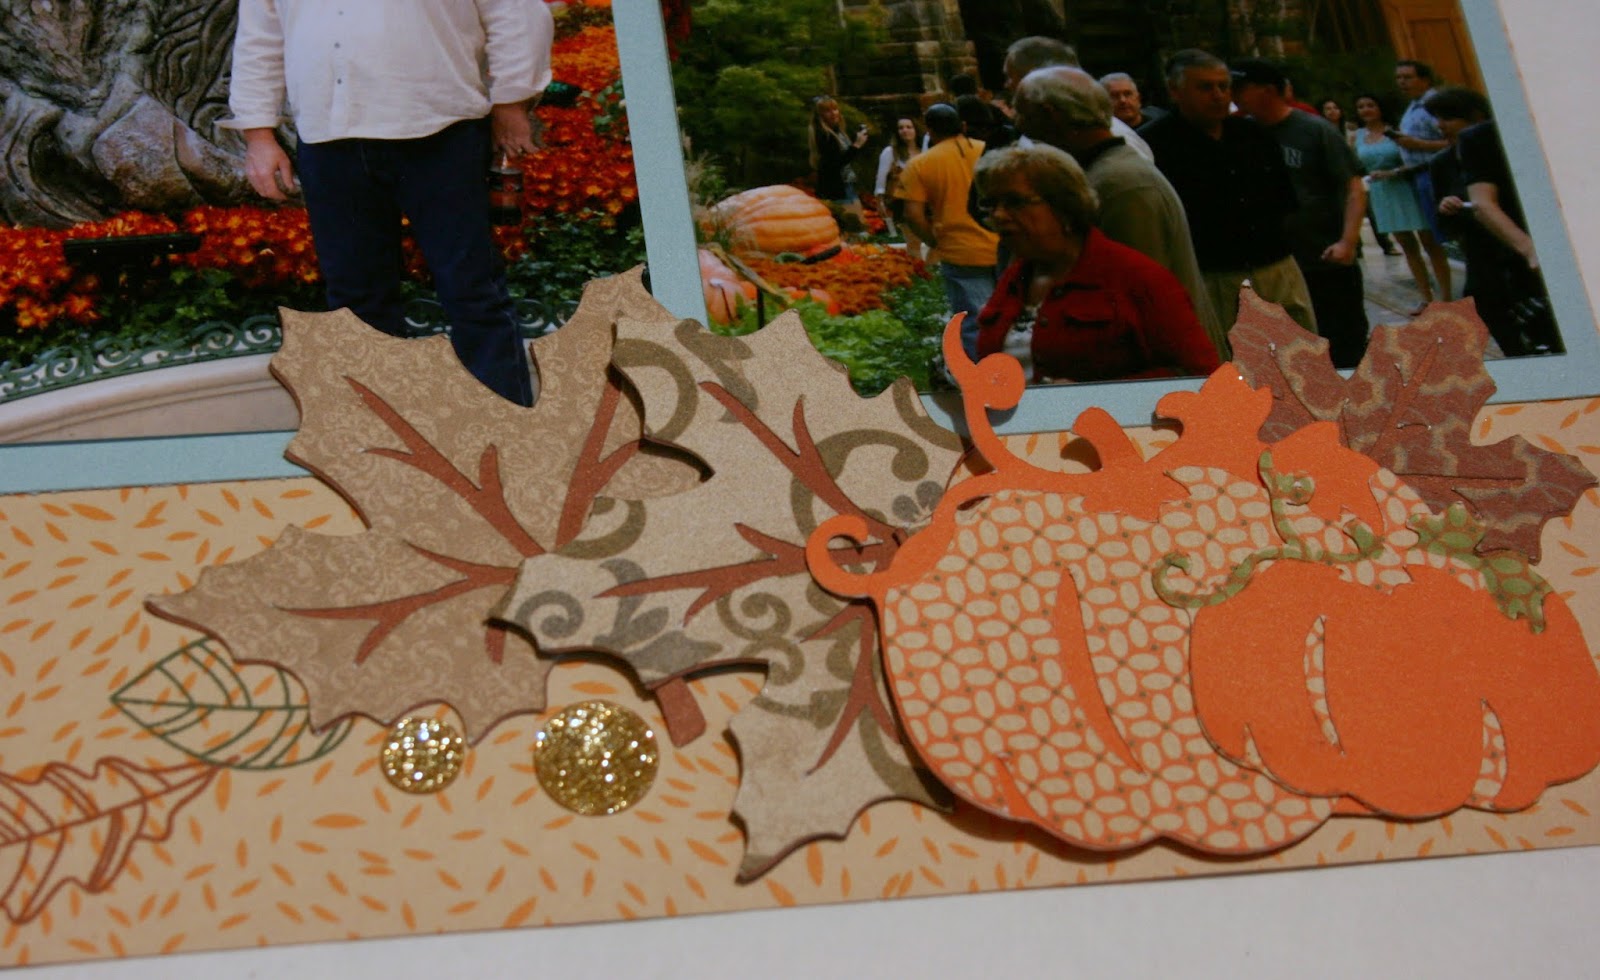
While it wasn't intentional,  I have a sense of the Alabama state flag on this one!

Saturday, December 20, 2014

Holly Jolly Christmas Day 11

Made with the A Holiday Stamp set
 
Here's the rest of the paper run through the embosser, after the folder has been coated with Cranberry ink.

Friday, December 19, 2014

Holly Jolly Christmas Day 10

 
Made with the A Holiday stamp set and a little Gold Polka Dot Washi tape.  This picture really picked up the shine!

Thursday, December 18, 2014

Holly Jolly Christmas Day 9

 
Mad with the A Holiday stamp set.
The fading Merry Christmas was done by repeating stamping the words without reinking in between.
Here's another one, with a little different twist on the same theme.

Wednesday, December 17, 2014

Holly Jolly Christmas Day 8

Made with the A Holiday Stamp set.
The cranberry panel was run through the embosser with the Quatrefoil folder.  Add a little gold shimmer trim and some sparkle to your Christmas cards!

Tuesday, December 16, 2014

Holly Jolly Christmas Day 7

Made with the A Holiday stamp set.
Very similar to day 4, but without the bamboo holly in the background.  No other stamp set was used in the making of this card.  LOL. 

Monday, December 15, 2014

Sunday, December 14, 2014

Holly Jolly Christmas Day 5

 
Made with the A Holidy stamp set

For the designed background, I swiped Cranberry ink over the top of the Damask embossing folder, then ran the Daisy cardstock through.  I also used the stamp sets included in the Artfully Sent cricut cartridge - D1631 Curlicue frames and D1629 Just to Say...

Saturday, December 13, 2014

Holly Jolly Christmas Day 4

Using the A Holiday stamp set.
I stamped the holly directly onto the card in bamboo, cut the shapes from Olive cardstock and stamped the cutouts in New England Ivy.  The berries are stamped directly onto the card in Cranberry ink, as is Merry Christmas.

Friday, December 12, 2014

Holly Jolly Christmas Day 3

Using the A Holiday Stamp set.
Materials used:
Olive cardstock
New England Ivy ink
Cranberry ink
Merriest Christmas B1468
Gold Sequins

Thursday, December 11, 2014

Holly Jolly Christmas Day 2

Made with the A Holiday stamp set.  For the two toned panel, I swiped the Cranberry ink pad over the top of the Damask embossing folder, then ran a 4X5.5" square through the embosser.  For this card I trimmed an inch strip.  I use the rest in another card.
Other materials:
Olive cardstock
Cranberry cardstock
Gold sequins
Red pearls (my stash)
Merriest Christmas stamp set (B1468)

Wednesday, December 10, 2014

Holly Jolly Christmas Day 1

Made with the A Holiday stamp set, and a few red sparkles from my stash.
 
Olive cardstock
New England Ivy Ink
Cranberry Ink

Tuesday, December 9, 2014

12 Days before Christmas

When it comes to buying Christmas presents, we like to buy a gift that makes sense to us, something we can understand or relate to.  Not all our family members understand our want and our NEED to have more scrapbooking stuff!

This December, Close to My Heart has a really sweet deal.  With a $50 order you can get the Stamp of the Month for $5 and you can add as many $17.95 and $13.95 stamp sets to your order (from the main catalog) for just $10 each.  What a savings!

I'd like to sweeten the pot just a little this month.  If you would like to treat yourself to a $50 base order, add the $5 Stamp of the Month, and two $10 specials, I will send you this stamp set for free.  Just place your $75 order on line, and I will ship the stamp set directly to you!  Do not include the stamp set on your order.  This special is from me, your independent consultant, a Merry Christmas and thanks for ordering gift.


This special will last for 12 days only - from December 10 until December 22.  The stamp set coordinates with the Art Philosophy cartridge.   For the duration of the special, I will be posting a sample card daily, so you can see just how versatile this stamp can be.  I hope you have a wonderful Christmas!  Happy scrapping!

Monday, December 8, 2014

January Card Class

Ready to send some love?  At the January card class on Thursday, January 8th, 5:30 pm until 7:30 pm, you will make 3 different cards - one of each design from the Heartstrings card making Workshop on the Go.  Cost is $5 for the class and one lucky winner will go home with the stamp set that comes with the kit!  If you can't make the class or would like the stamp set for your own, you can order the kit. This is a limited time workshop on the go - only available until March 31.

Don't need Valentine's day cards?  These are great for anniversaries, and I'll also have birthday sentiments available for use at the card class.

Saturday, December 6, 2014

January Scrapbook Workshop

I'm trying something new, Scrapbooking workshops. The first one was in November.  The Scrapbooking workshops are a fast paced two hour session where you can finish 2 double layouts.  All the papers are cut for you, your time is spent stamping and putting the pages together.  The next Scrapbooking workshop is January 22nd, from 5:30 until 7:30pm.  Cost is $25.  There is not a stamp set included in this workshop.  You will go home with the following layout designs:

 
The papers are from the Heartstrings paper pack.  Stamp sets used are Amour and Pick a Posey.  RSVP is required for this workshop, by January 10th. If you would like either of the stamp sets, they can be added to your $25 order.  Bring your own adhesive and your scissors to the workshop. Everything else is included in the cost.

Wednesday, December 3, 2014

Hark the Herald Angels Sing

A Christmas card using the hostess stamp, Sing Glory.  I used Champagne ink for the gold angel, black for the rejoice, and a few bitty sparkles from the Brown and Tan assortment.  The card was a little hard to photograph and in this shot, I'm holding the card closed.


Start by stamping the angel in the middle of your card, then using your trimmer, slice about an inch off the right side, being careful not to cut through the trumpet.  Hand cut to finish trimming around the trumpet.
 
Add Rejoice to the front.  On the inside of the card, add a one inch strip of paper and a length of shimmer trim.  Test where you need to place the shimmer trim before sticking it down, you want it to show a little when the card is closed. After adding the inside paper and trim, stamp your words.


The Sing Glory set can be found on page 7 of the main catalog, and is only available one of two ways.  Be a hostess for a gathering or mini-workshop, or join the Price is Right Club.  More details about the club can be found on it's own tab at the top of the blog.  If you are interested in being a hostess in 2015, just give me a shout!  This is a limited time stamp, and will not be available after July 2015.

Tuesday, November 25, 2014

Recipe Card Swap

Thanks to all who participated in the recipe swap!  I'm still waiting to receive a couple more sets of cards, but here's a preview.  My card was completed with the Brushed paper pack.  The Canary 'net' is from the Artbooking cartridge, set at 5" RDS (Real Dial Size). The flower and leaves are from the Art Philosophy cartridge.  Stamp set is Island Greetings - just $6.95!

Sunday, November 23, 2014

Simple deer card

Like yesterday's card, this was cut from the Artfully Sent Cricut Cartridge.  The deer is cut at 5" (no RDS).  I slid him between three sheets of torn Daisy White paper.  The edges were covered in glue and a combination of clear embossing powder and glitter - to help keep the glitter in place.
 
The stamp set is Best Christmas.

Saturday, November 22, 2014

Warm Wishes with Artfully Sent

Artfully Sent is loaded with really neat cards that encourage your artistic ability.  For this Warm Wishes Card I used the Snowhaven paper pack. 

 
The snowflakes are stamped in Whisper, with the snowflakes from the Best Christmas stamp set.


The angled piece of paper was just leftovers from another project.  It fit, so I used it!

This is a 3-D card, the deer is adhered only at the ground by his feet, to the fold in the center.
 
Peace & Joy is stamped with black pigment ink, and embossed with clear powder.
 
Artfully sent also cuts out the envelope and insert.  When you finish, this is a quality card, heavy from the layers and details  you put into it.


Friday, November 21, 2014

A little something extra


Place any sized order on my website - http://decoratingthedaysofourlives.ctmh.com - between now and November 30, and I'll ship you a little something extra - this M sized stamp, for free.  Do not include the stamp in your order, I will ship it directly to you!

Tuesday, November 18, 2014

Tree Troll

My favorite display at the casino's fall room, was this Tree Troll.  He needed his own special layout and I think it turned out pretty great.


A couple close ups of the embellishment clusters.

 
The tree is from the Artfully Sent Cartridge, page 44. I used a stamp from the Pathfinding WOTG, stamped in first and second generation Olive behind the branches for the leaves.
 
I'm also posting this on the Color My Heart Dare for this week.  Check out the great inspriation there!

Sunday, November 16, 2014

Enchanted Garden

The fall paper pack Pathfinding has such great papers in it.  Last year (yes, Vegas again), one of the casino's had a wonderful fall display in their general areas.  I used the Pathfinding paper for this layout.


There's a little bit of everything thing on this page.  Glitter paper, gold bling gems, Pathfinding assortment (really good set of embellishments), stamps, Cricut cuts and some retired pieces from my stash.

 
This font is from the Artfully Sent Cricut cartridge.


Do these look familiar?  Recycle, reduce, reuse!  These were salvaged from a decorated candle I did last year.  You can see the original post here.  The stamp set on these pages is Thankful Heart.
 

Thursday, November 13, 2014

Washi Trees

How are you coming along with your Christmas cards?  Here's a super simple one using the Topiary washi tape and the Merry Merry Holiday stamp set. 

Also used:
Bronze shimmer tape
Shinhan Carmine marker
Foam tape (to pop the star and the word banner)

Friday, November 7, 2014

Quick Note

Just a quick note to the chefs!  There are 6 of us in the recipe swap.  If you didn't get your email saying you were playing and how many to make, please let me know!

Tuesday, November 4, 2014

Upcycle

Upcycle your commercial Christmas cards into gift tags.  It's super easy with the Cricut to cut your shapes for you. I found a 3" tag works best.  Place your cards on your mat -


Use your arrow keys to set the cutter on the next card.  Just a few practice cards, and you'll know where you need to start to cut exactly what you want. The Christmas scenes are great - all 4 tags from one card!
Then I tie a little twine or embroidery thread in the top, stamp the back with a to: and from: and a little decorative stamp - all loaded on one block so it's a single stamp.
 
On these I used the to: fr: of the Christmas Post stamp set and the holly and ribbon from the Noel stamp set.
 
It took a single evening to upcycle all my cards, but I have enough tags for this Christmas and a few to share!


Monday, November 3, 2014

It's the Little Things

November's Stamp of the Month is called It's the little things.  You can purchase it for $17.95 or get it for just $5.00 when you place a $50.00 order.  I used it and the Brushed paper pack to create this layout.

One day I might actually get my pictures to turn out right!  These colors are actually the new Canary and Pixie, with Topiary.  For the flowers, I stamped the round circles of the SOTM, then rotated the stamp slightly and re-stamped (with fresh ink, not second generation).

Friday, October 31, 2014

Happy Halloween!

I hope all the goblins and spooks in your day are super cute and sweeter than candy!


This card has a row of silver shimmer trim on the inside, that will shine through the triangle punch when closed.  The background was sponged with slate and thistle, using a spider web I cut from the Art Booking cartridge and didn't use.  The stamp set is a Cricut forever stamp set, Backdrop - Charmed.

Just the background was cool too.

Sunday, October 26, 2014

Storage for the Recipe Swap

Are you participating in the recipe swap?  Consider this - those really super cute recipe cards aren't going to fit in your 4X6 recipe boxes.  I have punched a hole in the upper corner of mine and used a silver ring to hold them together.  You could also get a 6X6 album to store them in, but I'm loving this new option!

I'm storing all my cards in the My Acrylix Organizer.


Then, I can pull just what I need for this week and put it on my kitchen counter with the Designed Décor Flip Stand Album!  I have a 6X6 clear plastic sheet on the top to keep any kitchen splatters off my pretty cards!

I love it when I actually plan my meals for the coming week.  Saves my after-work tired brain from having to think or from having to run the grocery store last minute (and saves the family from another night of sandwiches!).  And now all my recipes are right there and creatively artsy to boot!